Installation
Step 1 - Copying Files to Your Server
You must have got a main zip file named “chatbull-expo-x.x.x.zip” with your purchase. You will need to extract this file. Extracting this file will create a folder “chatbull-expo-x.x.x”.
Now, Go inside “chatbull-expo-x.x.x” and you will find a folder “web”.
You need to upload this folder in the root directory of your server. Usually the root directories are called “public_html” on a linux based hosting or “httpdocs” on windows based hosting.
You can change the folder name “chatbull-pro-installer” to any appropriate name you prefer. For example, livechat, support-chat etc.
Now, you can easily access the installer with the URL http://yourdomain.com/livechat (in case, you named the chatbull-pro-installer folder to livechat) and replace yourdomain.com to the domain where you have uploaded the Chatbull to.
ChatBull installs in three easy steps. All these steps are self explanatory but here is a detailed information about each of the step.
Step 2 - Create & Integrate Database

It requires following details to complete the step:
-
Hostname
This is usually localhost in most of the cases but could vary based on your hosting.
-
Database Name
Name of the database you have created on your server.
-
Database Username
Username of the user account on database server who has access to the above database.
-
Database Password
Password of the user account on database server who has access to above database.
Special Notes
But before you complete above steps, please go through with following notes.
- We recommend you to create a separate database for ChatBull
- If you are installing ChatBull in an existing database. Make sure that you have a full backup of your existing database and none of tables has prefix _chatbull
Fill all the detail and hit the CONTINUE button, this will connect your database if all the details you have entered is correct and will take you to the next step.
Step 3 - Admin Account Setup
This step is to setup the administrator account for your ChatBull Admin Panel.
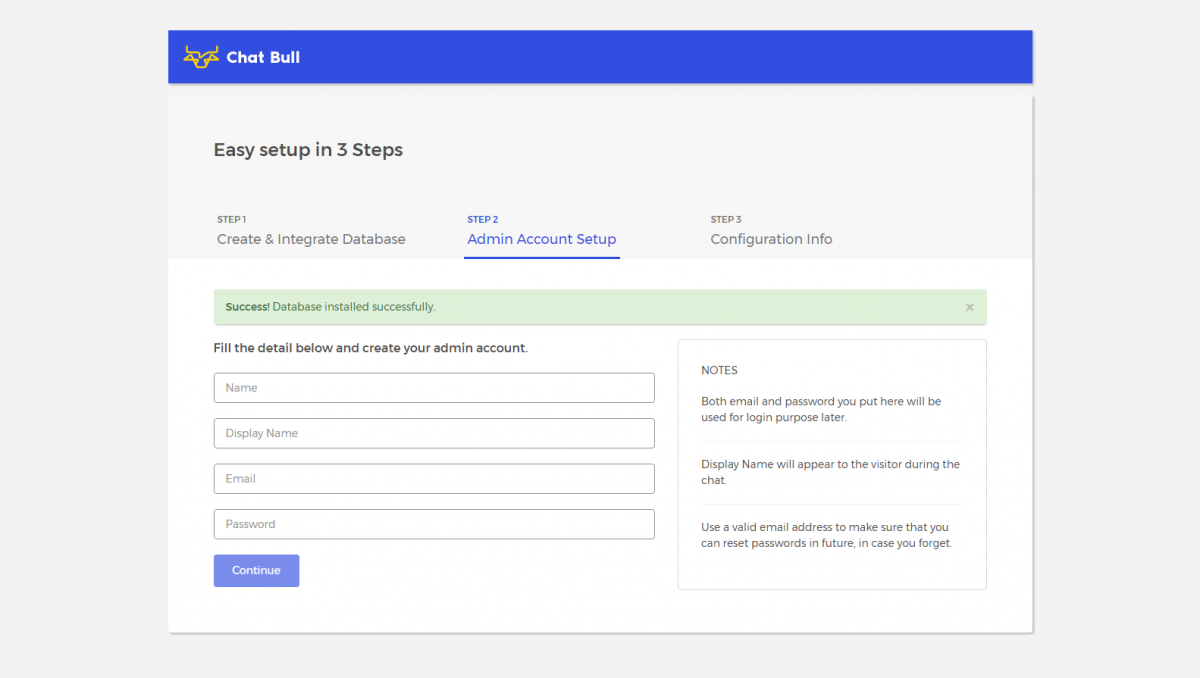
You will need to fill following detail on this step:
- Name – you can put name of the administrator person here.
- Display Name – this name will appear to your visitors when admin user will be chatting with them.
- Email – email address of the administrator.
- Password – password for the administrator.
Both email & passwords you set here will be used for the login purpose.
After filling all the detail here. You will need to click the “CONTINUE” button. If everything is good, it will take you to the final step as given below.
Step 4 - Configuration Info
Congratulations!!!
You have installed ChatBull successfully on your server and it gives you all the information you need to login into the ChatBull admin panel.
Experience the excellence :)